Session overview
The video continues with a discussion on ratio spreads, market volatility, and the risks associated with certain trading strategies. It covers market stoppages, long time premiums, futures, and market reversals. The speaker also addresses market behavior, panic, and the impact of votes on market reactions. The video concludes with a discussion on market re-testing, normal movement, and opportunities for option traders.
01 2:09 Market Behavior and Trading Strategies
The video continues with a discussion on ratio spreads, market volatility, and the risks associated with certain trading strategies. It covers market stoppages, long time premiums, futures, and market reversals. The speaker also addresses market behavior, panic, and the impact of votes on market reactions. The video concludes with a discussion on market re-testing, normal movement, and opportunities for option traders.
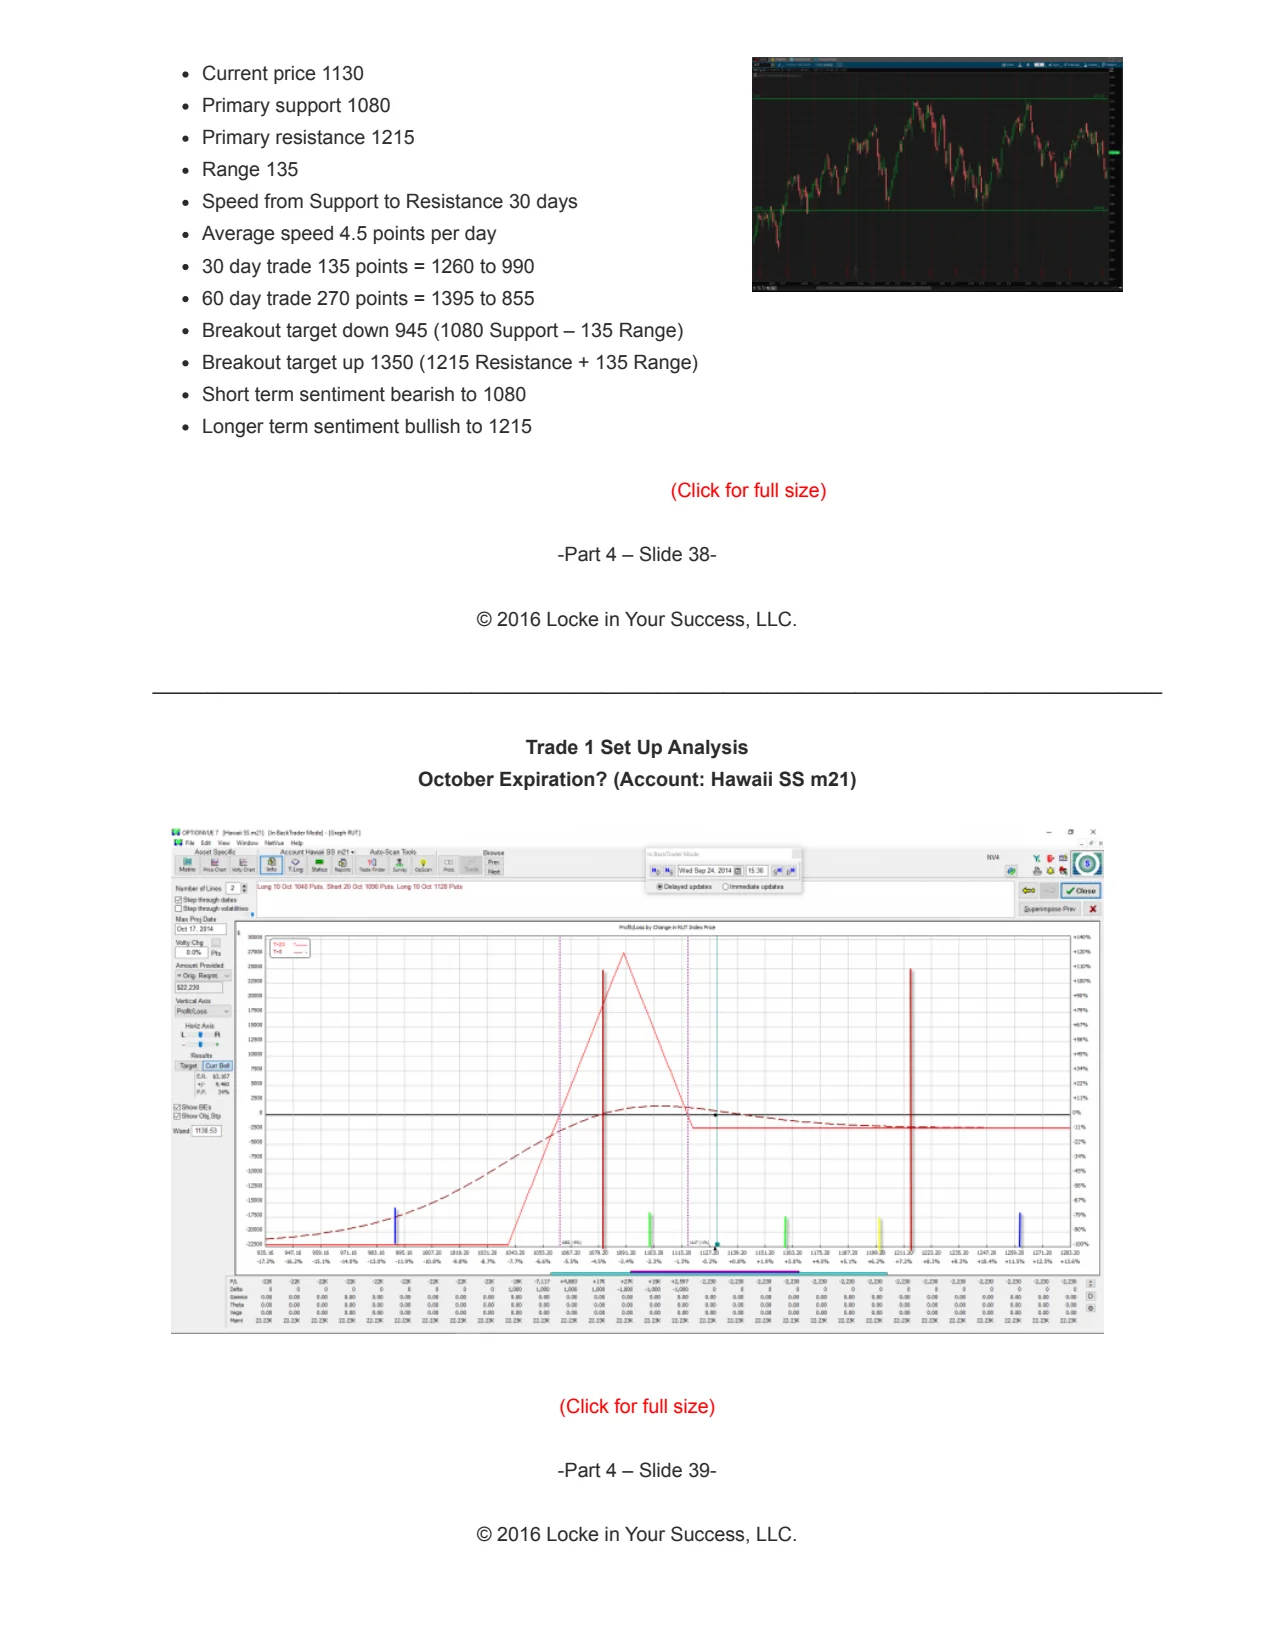

Ratio spreads can lead to significant losses if the market does not crash as expected. To mitigate this, traders should have a plan in place to manage positions during unexpected market movements, including knowing when to exit or adjust positions.
When the market reverses, traders should consider exiting futures positions to avoid losses. This includes taking profits and avoiding further risk exposure if the market does not continue in the expected direction.
02 12:28 Volatility, Entry Pricing, and Position Strategies
The trader discusses volatility as a good entry point for trades, explains market response to news and how it can lead to an explosive up move, and outlines position strategies for down moves while being relatively benign to the upside.
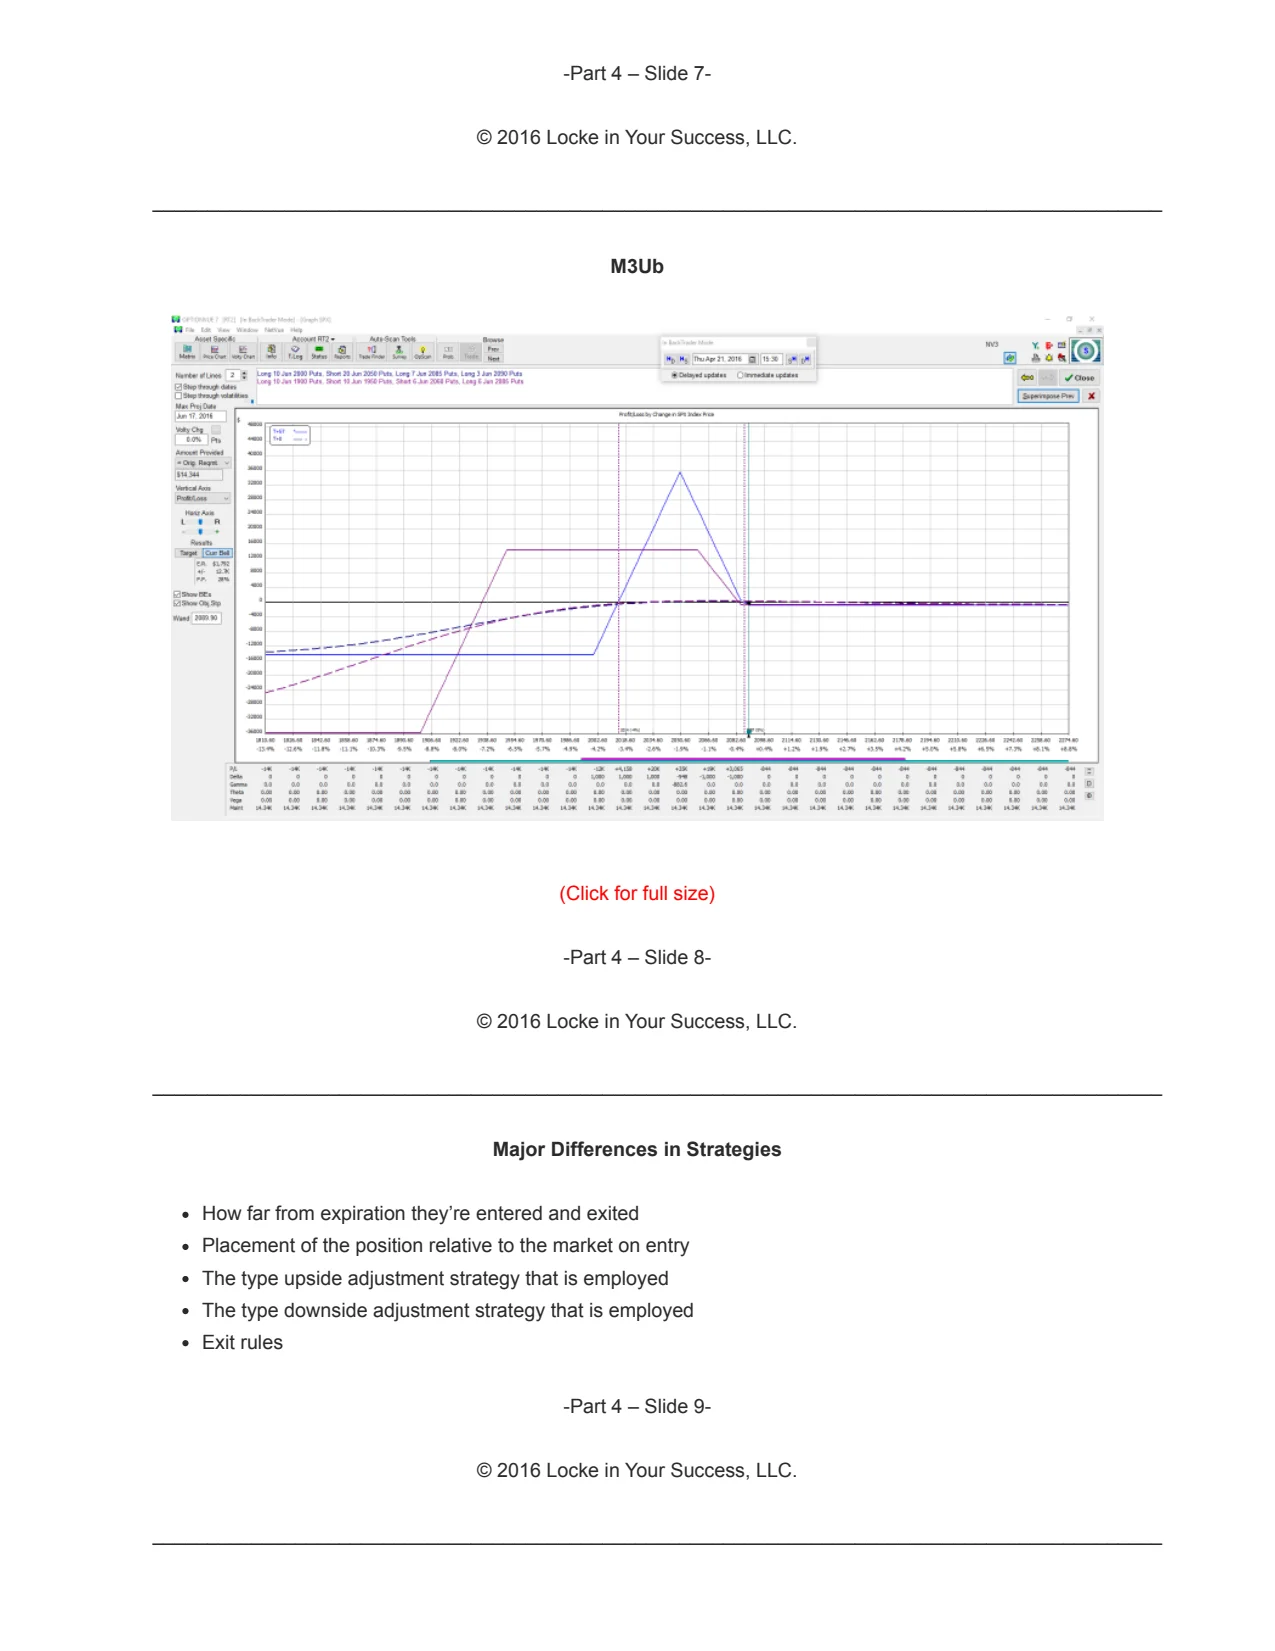
To take advantage of a down move while being relatively benign to the upside, use an M3 configuration. This is a broken wing butterfly T plus zero line profile trade that reacts differently based on volatility and movement. It is preferred over a broken wing butterfly or condor due to its resilience to volatility crush and support level breakdown.
In an M3 configuration, monitor for volatility crush and the T plus zero line profile dropping out. If volatility drops significantly, consider adding a small butterfly position ahead of the trade to hold the T plus zero line better.
When comparing M3 and road trip trades, the M3 trade has significantly higher negative Vega (e.g., 1,000 vs. 50-60), making it more sensitive to market declines. However, the road trip trade remains relatively flat during market downturns, showing less volatility sensitivity.
03 15:16 Vega, Butterfly Strategies, and Trade Configurations
The discussion covers Vega values in different trades, the impact of volatility on trades, the use of M3 and broken wing butterfly strategies, and how to adjust trade configurations based on market pressure and volatility sensitivity.

When comparing M3 and road trip trades, the M3 trade has significantly higher negative Vega (e.g., 1,000 vs. 50-60), making it more sensitive to market declines. However, the road trip trade remains relatively flat during market downturns, showing less volatility sensitivity.
To enhance the resilience of an M3 trade, modify the delta to be more positive. This adjustment helps the trade react more favorably to market movements, particularly when the market declines and volatility increases.
04 25:13 Market Pressure, Trade Adjustments, and Delta Management
The speaker discusses adjusting trade configurations based on market pressure, the need for more contracts, and fixing delta issues in M3 trades by adding butterflies or widening strike distances. They also mention increased volatility and sensitivity to market movements.
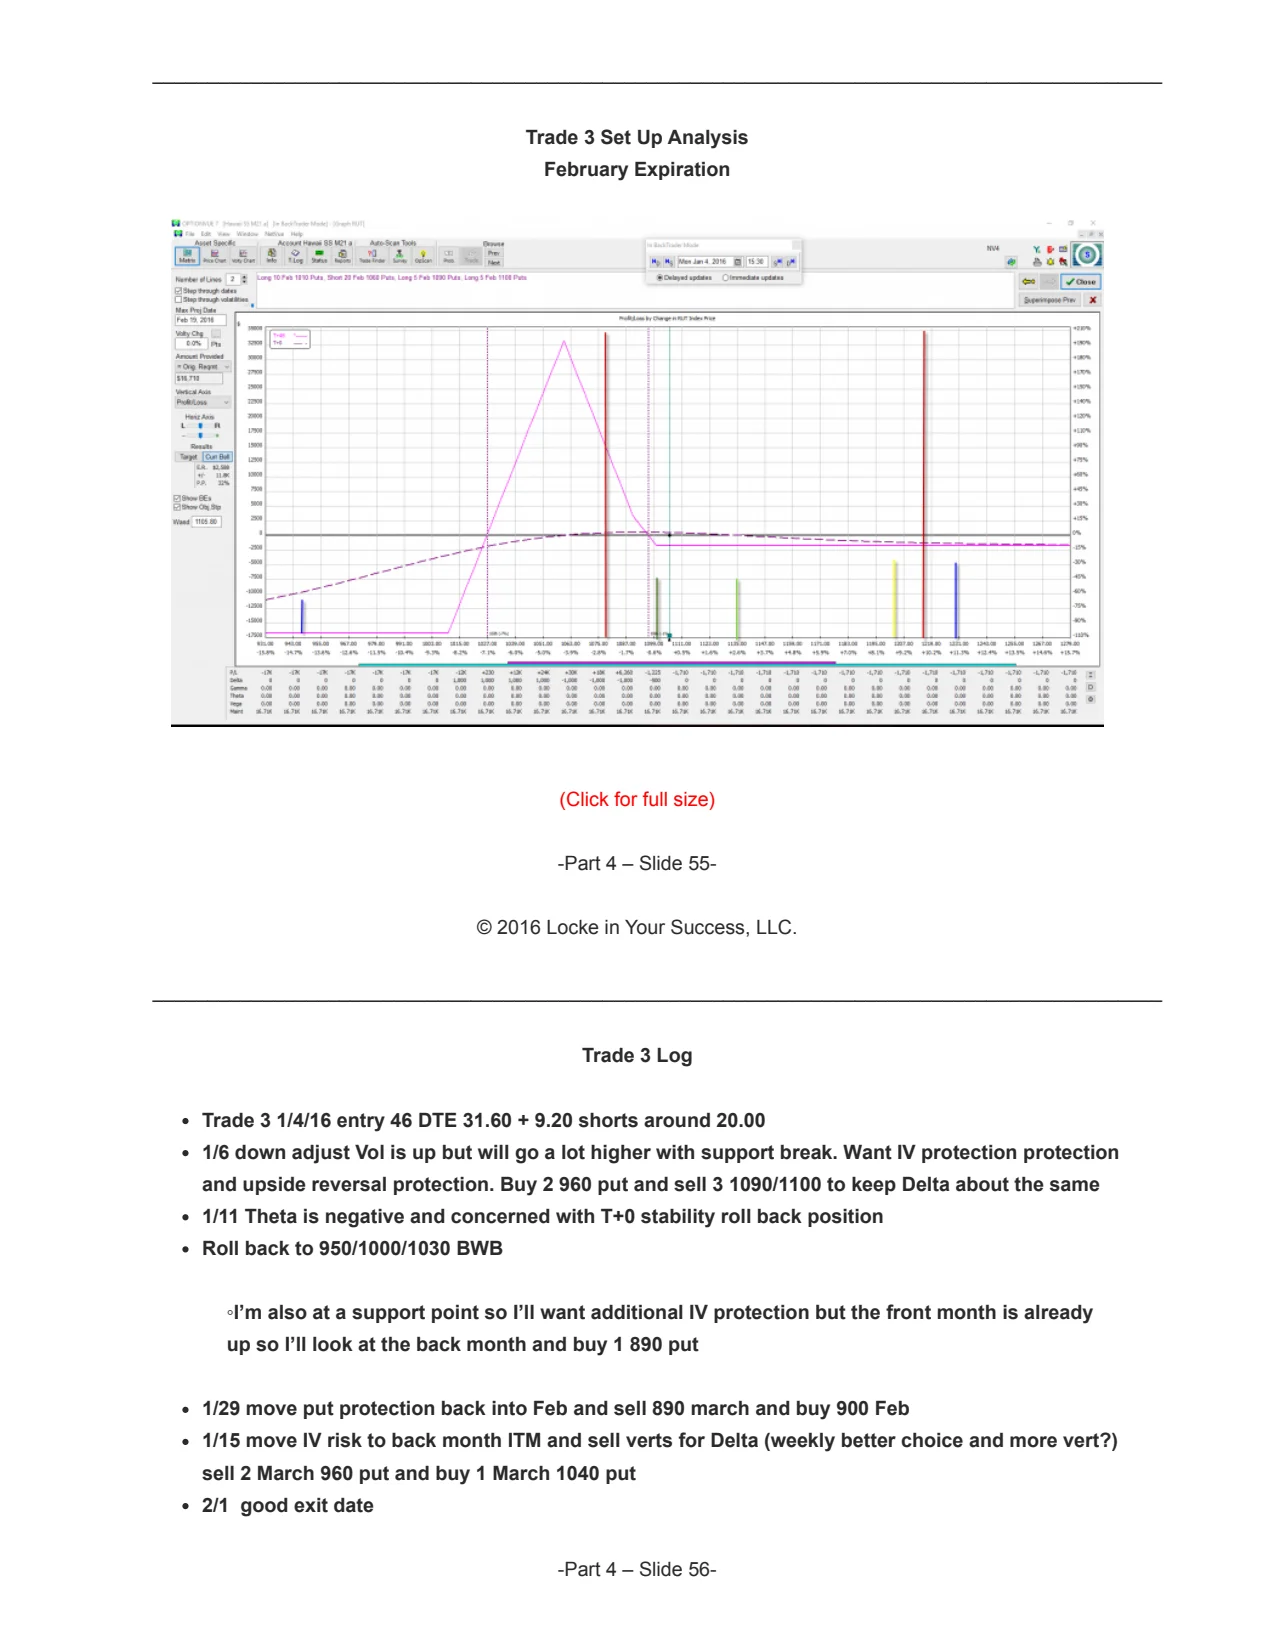
When the market is at a teetering point, adjust the M3 trade by positioning further out closer to the edge of the tent to provide more downside protection. This involves buying the M3 further back than normal, such as going plus 10, to create a buffer against potential market reversals.
To fix a delta imbalance in an M3 trade, traders can add more butterflies or widen the distance between long positions. Widening the distance increases volatility sensitivity, which can be used to adjust the trade's exposure to market movements.
05 27:51 Volatility Sensitivity, Market Behavior, and Trade Strategies
The speaker explores volatility sensitivity, market behavior, and various trade strategies such as broken wing butterflies, condors, and long positions. They also discuss the impact of expiration, market stalls, and the importance of managing volatility and delta as expiration approaches.

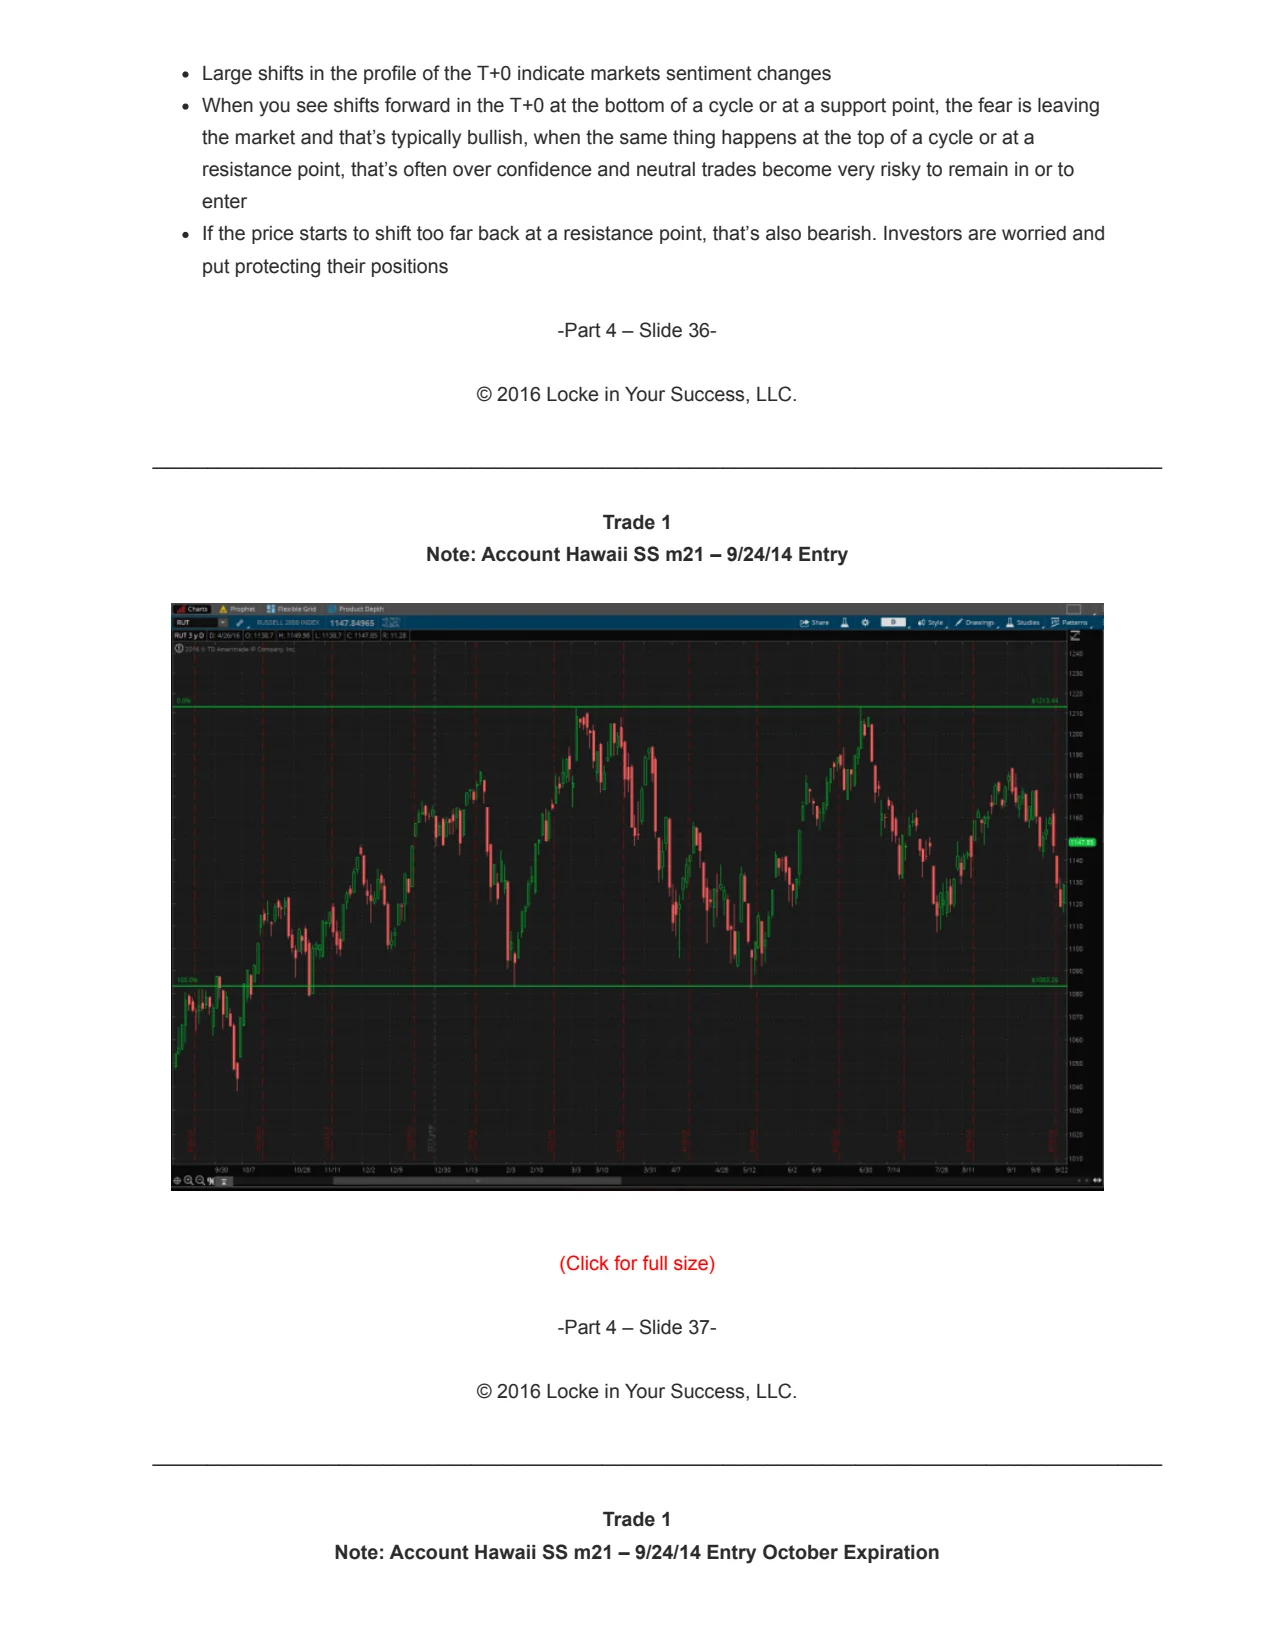
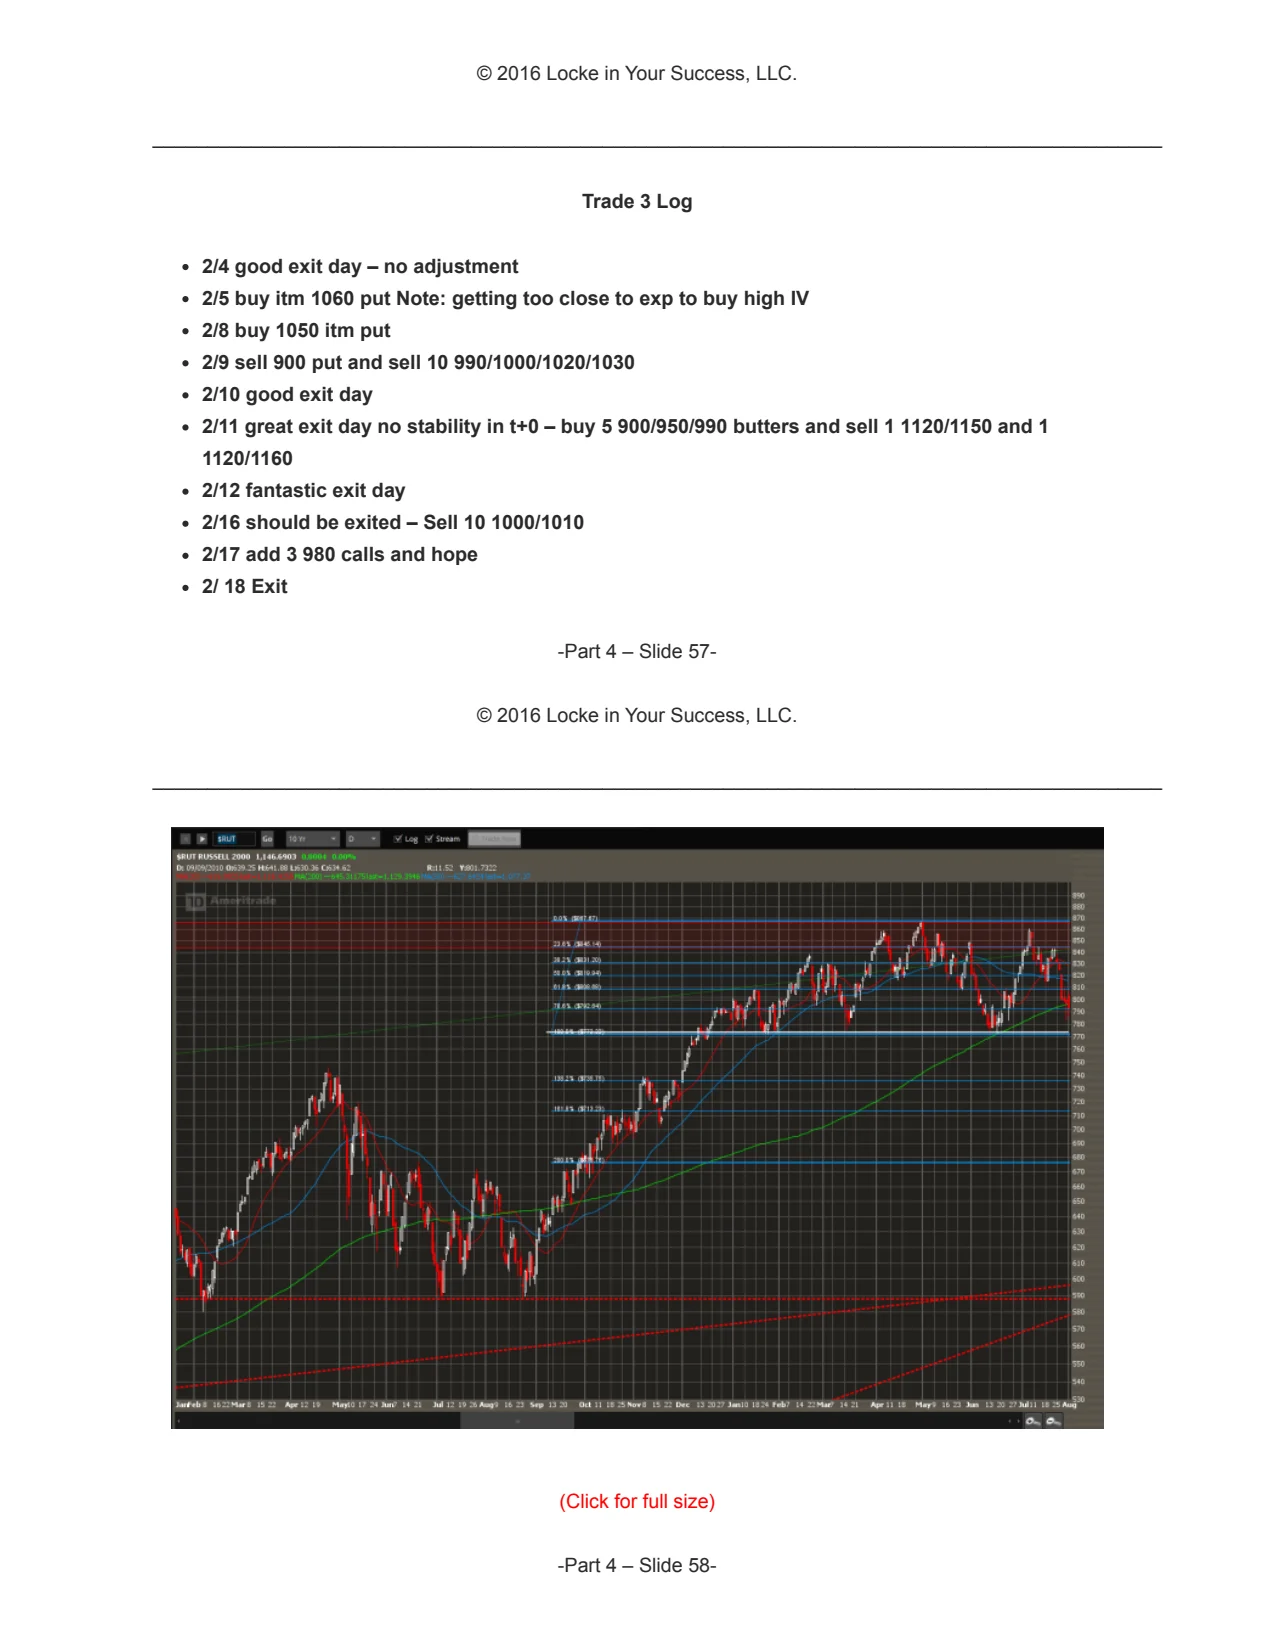
If you are concerned about a large move, you should position further behind the market, especially with a longer time to expiration. This allows you to hedge calls at a higher strike price, reducing the impact of volatility and market movement on your position.
If you are adverse to volatility sensitivity, avoid positions that are too close to expiration or have narrow wings, as these are more sensitive to price and volatility changes.
06 39:36 Entry Strategy and Trade Phases
The trader introduces the concept of an entry strategy and outlines the different phases of a trade, including entry, adjustment to the upside, adjustment to the downside, and exit. They also discuss the importance of making adjustments based on market conditions.
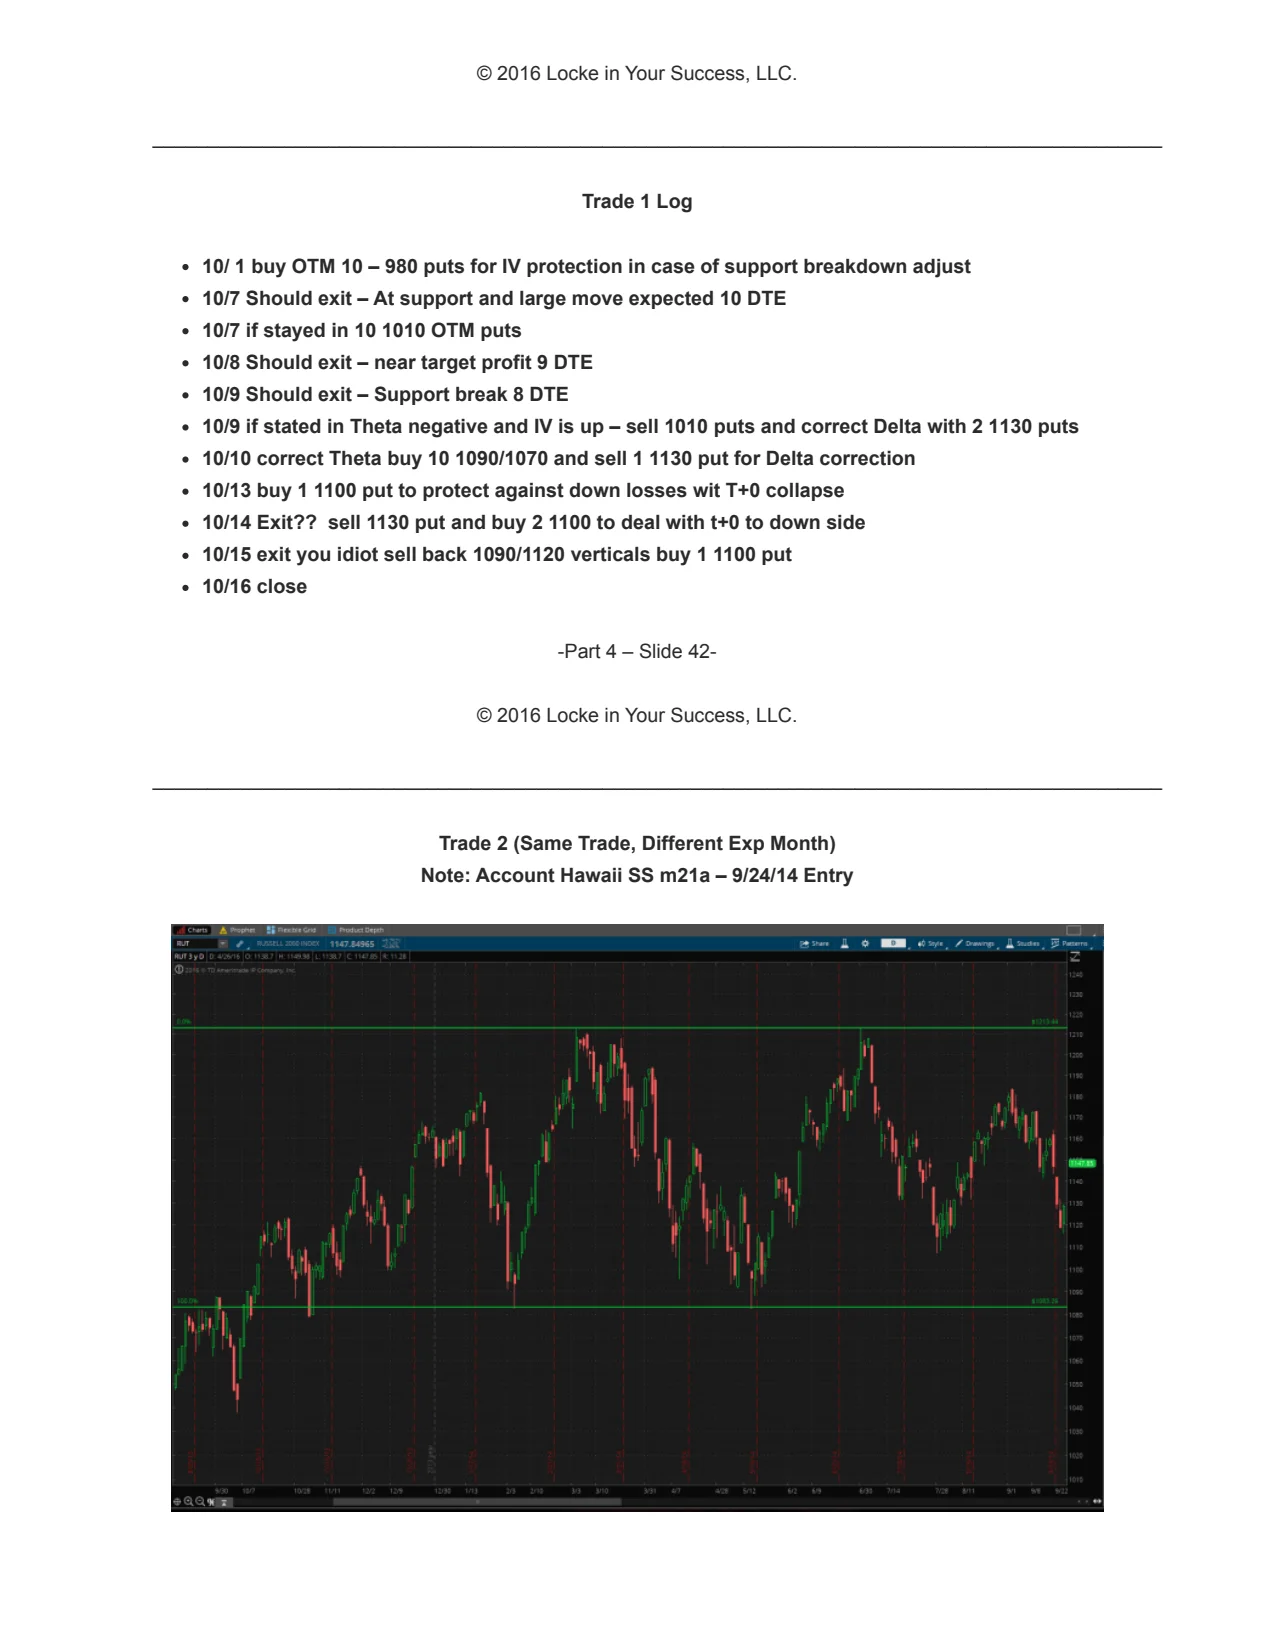
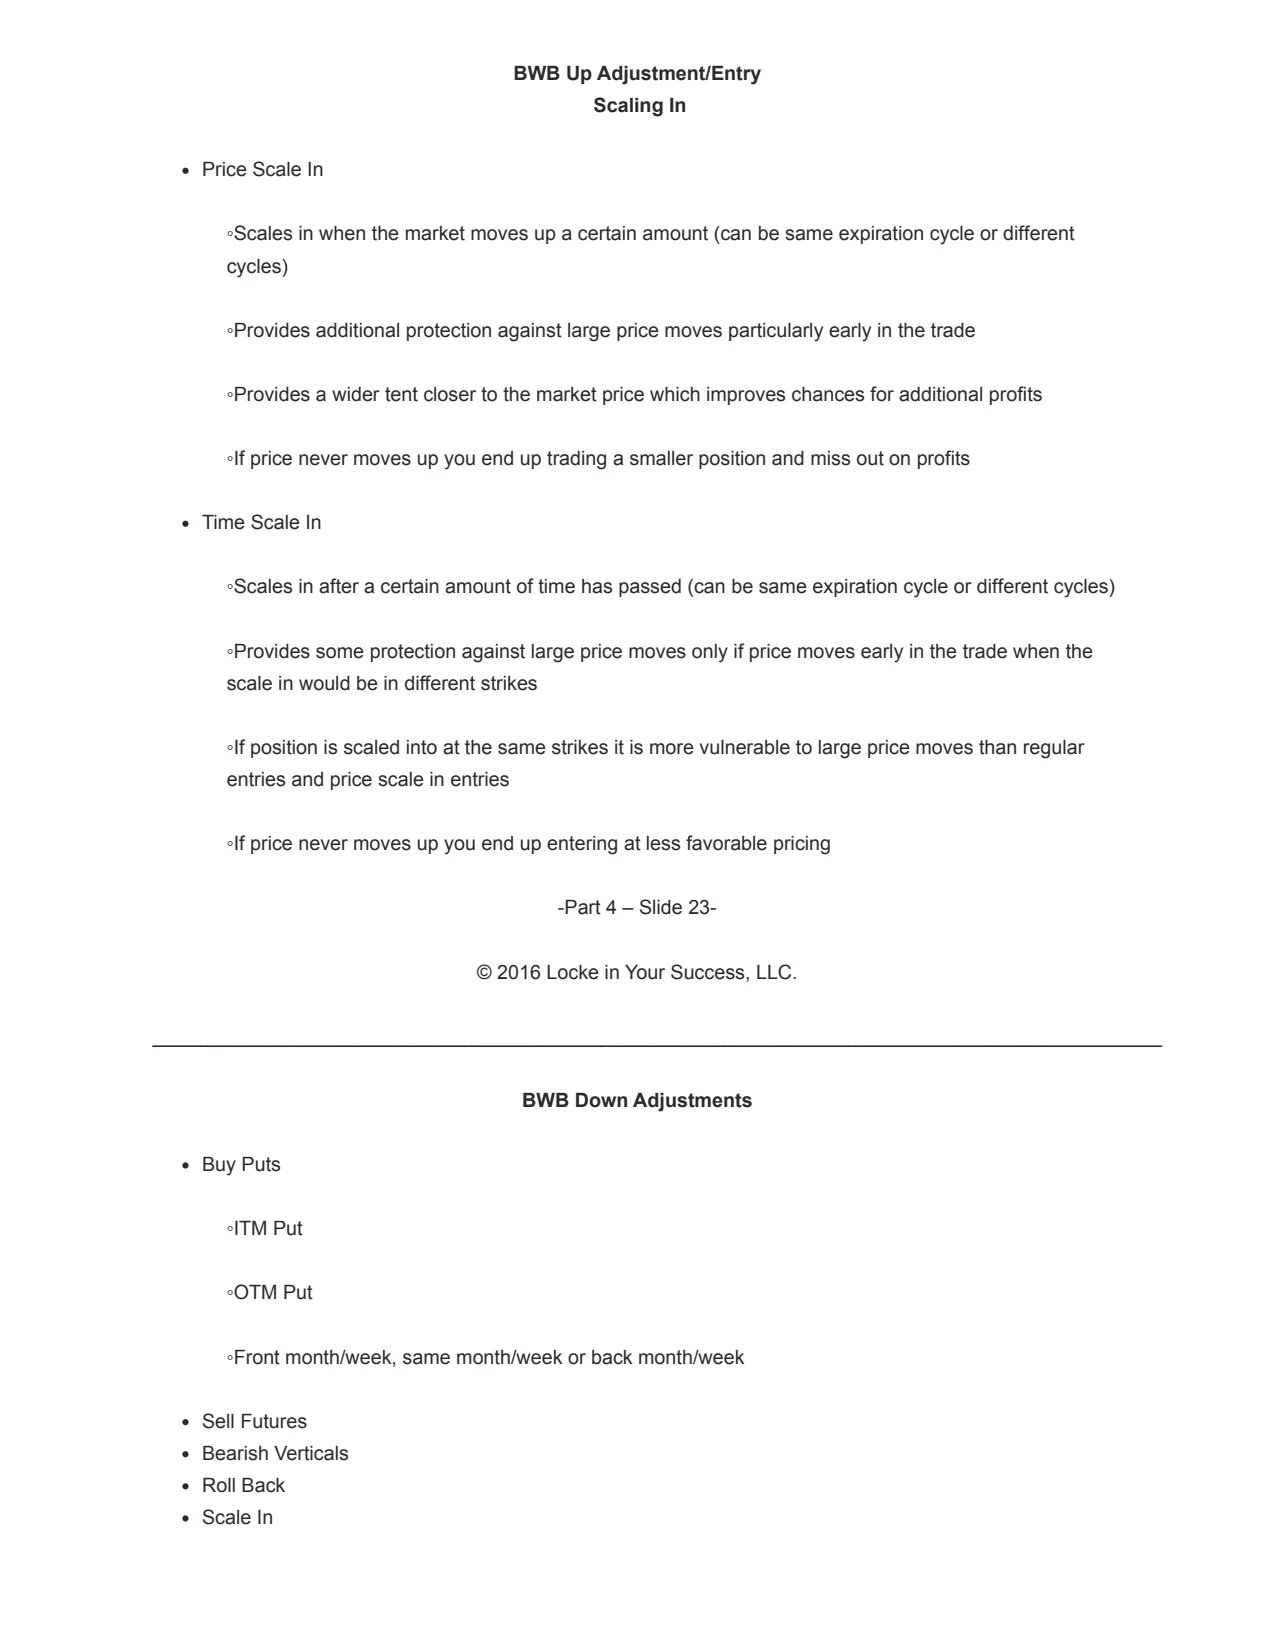
Trades should be analyzed in multiple phases: entry, adjustment to the upside, adjustment to the downside, and exit. Each phase requires a specific strategy for entering, adjusting, and exiting the trade.
Adjustment strategies should be tailored to market conditions, including volatility, volume, and the specific trade setup (e.g., bearish butterfly, time-scale-ins).
07 41:52 Risk Management and Strategy Evaluation
The trader discusses the risks of undiversified positions and the importance of scaling in and out with price movement. They also explore the pros and cons of different strategies, including risk-off strategies, aggressive adjustments, and the vulnerabilities of rolling up. The discussion covers various strategies like the M3 trade, broken wing butterfly, and condor strategies, emphasizing their similarities and differences.


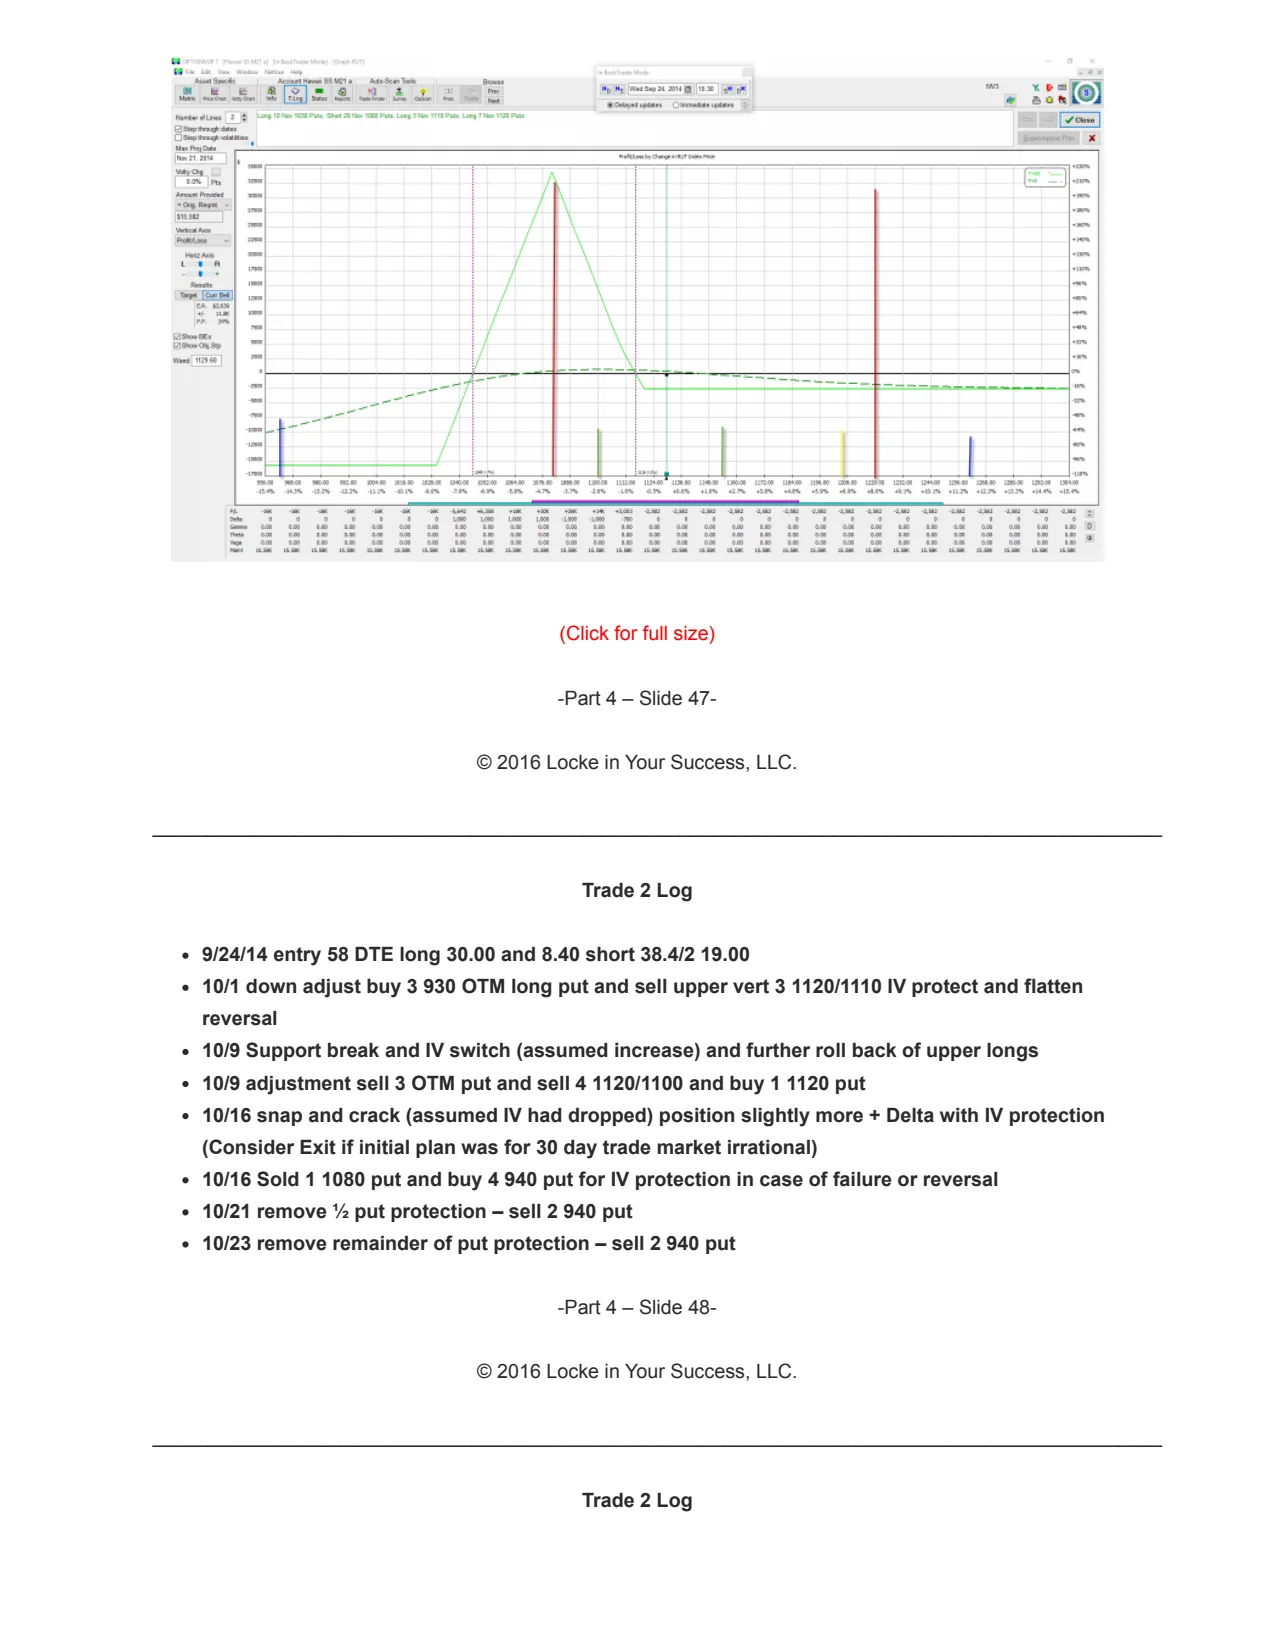

A risk-off adjustment strategy in M3 trades involves widening the verticals (rolling out the short strike) to reduce risk exposure, especially in normal market conditions. This allows for a more resilient position to market movements and can lead to larger profits if the market pulls back into the trade's range.
Traders may become frustrated with risk-off strategies in trending or sideways markets due to the lack of consistent profits, leading to impulsive adjustments that increase risk exposure.
08 51:37 Broken Wing Butterfly and Market Structures
This chapter covers the different configurations of the broken wing butterfly, including the M3U trade and adjustment strategies. It also discusses structures in front of the trade, such as Vega and theta, and how they affect market risks and reversals. The importance of managing market risks through delta and structures is emphasized.


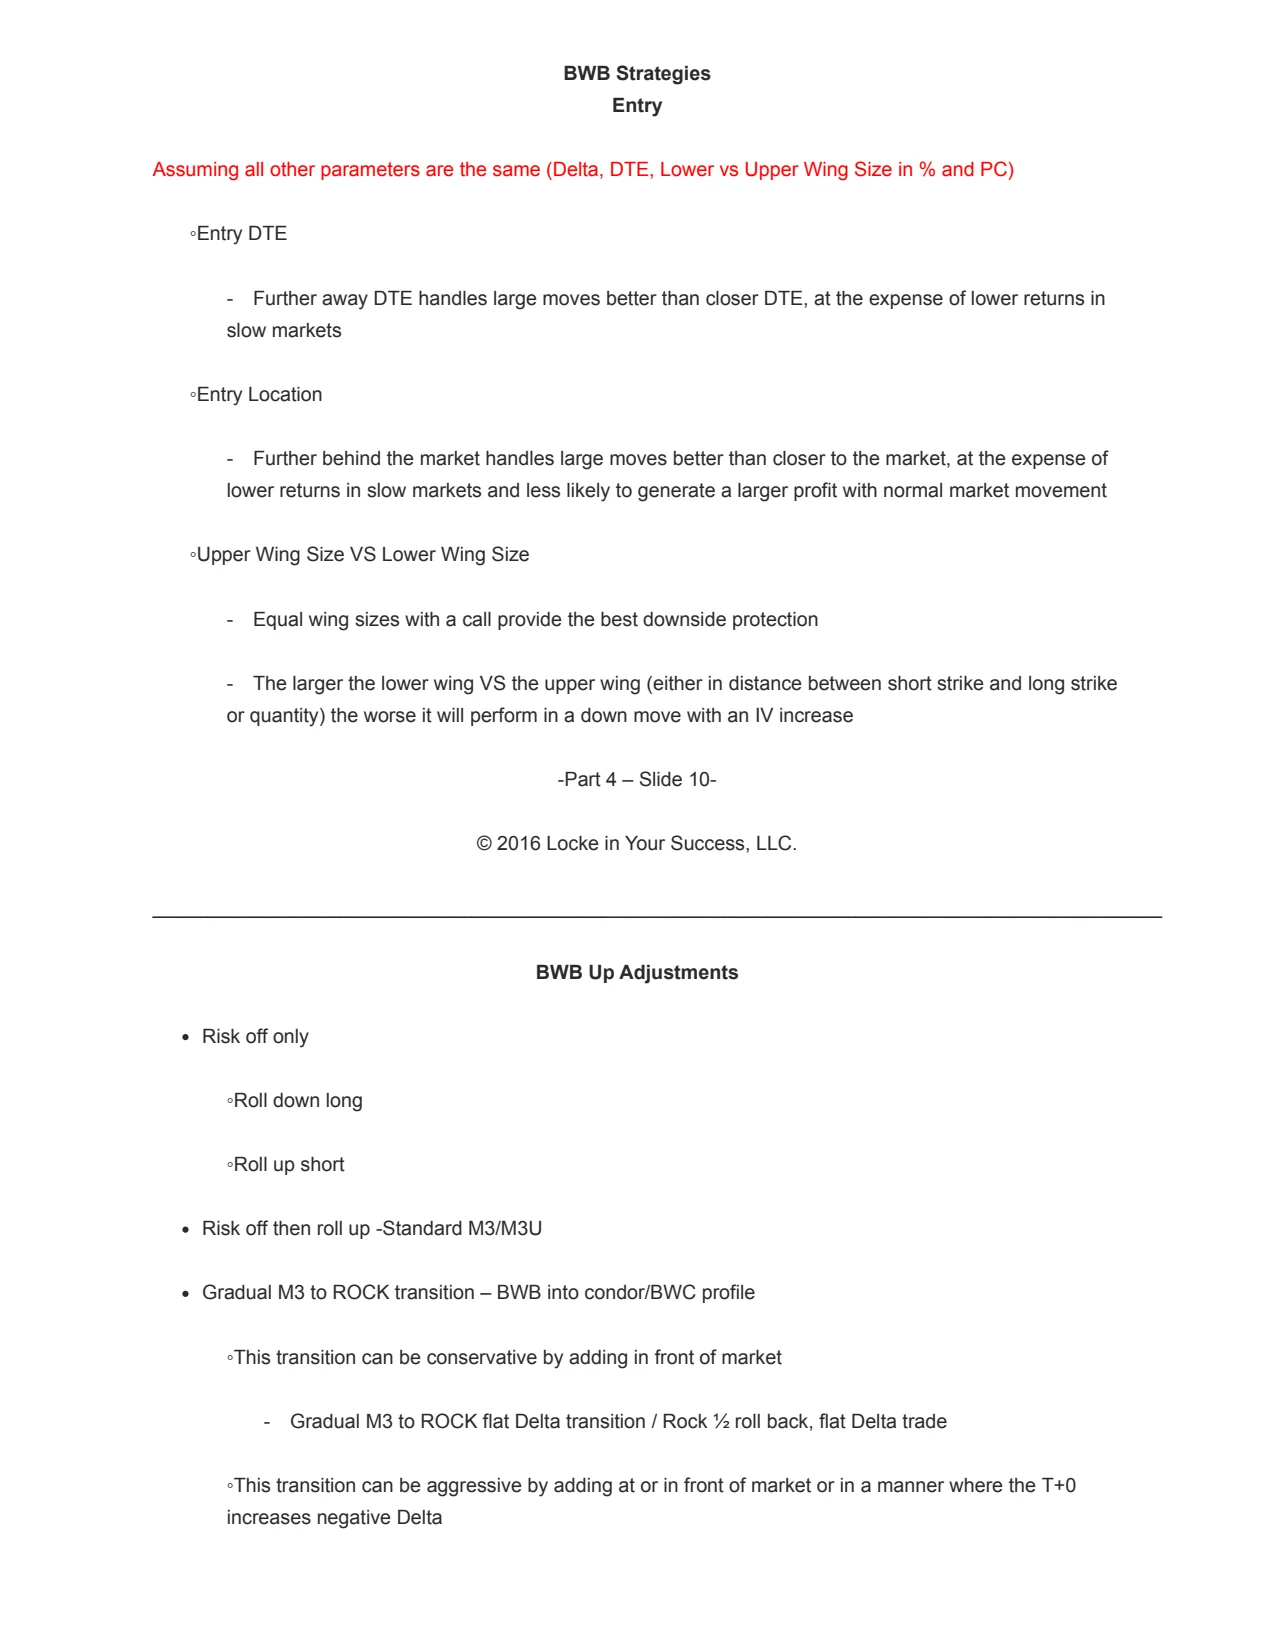
To adjust a broken wing butterfly trade into a condor configuration, introduce negative Vega and positive theta structures in front of the trade. This helps stabilize the T plus zero line and reduces the risk of losses if the market reverses.
If the market goes up and the broken wing butterfly trade becomes problematic, introduce negative Vega and positive theta structures to manage the risk and stabilize the trade.
09 56:44 Market Behavior, Volatility, and Trading Strategies
This chapter explores market risk, trader responsibility, and risk assessment. It discusses market behavior through charting, normal market volatility, and pullbacks. It also covers entry strategies, resilience to price movement, conservative trading, and the importance of wing size and selections in trading strategies.
If the market is overextended, you should adjust your position by hitting the top and preparing for a potential reversal.
Maintaining a flat T plus zero line reduces sensitivity to volatility, but it may result in a T plus zero line hit if the market reverses.
10 1:05:53 Volatility, Butterfly Strategies, and Position Size
The video discusses how market volatility impacts butterfly strategies, particularly the behavior of wings in options trading. It covers the relationship between butterfly width and capital allocation, as well as the importance of the T plus zero line in determining position size for narrow versus wide butterflies.
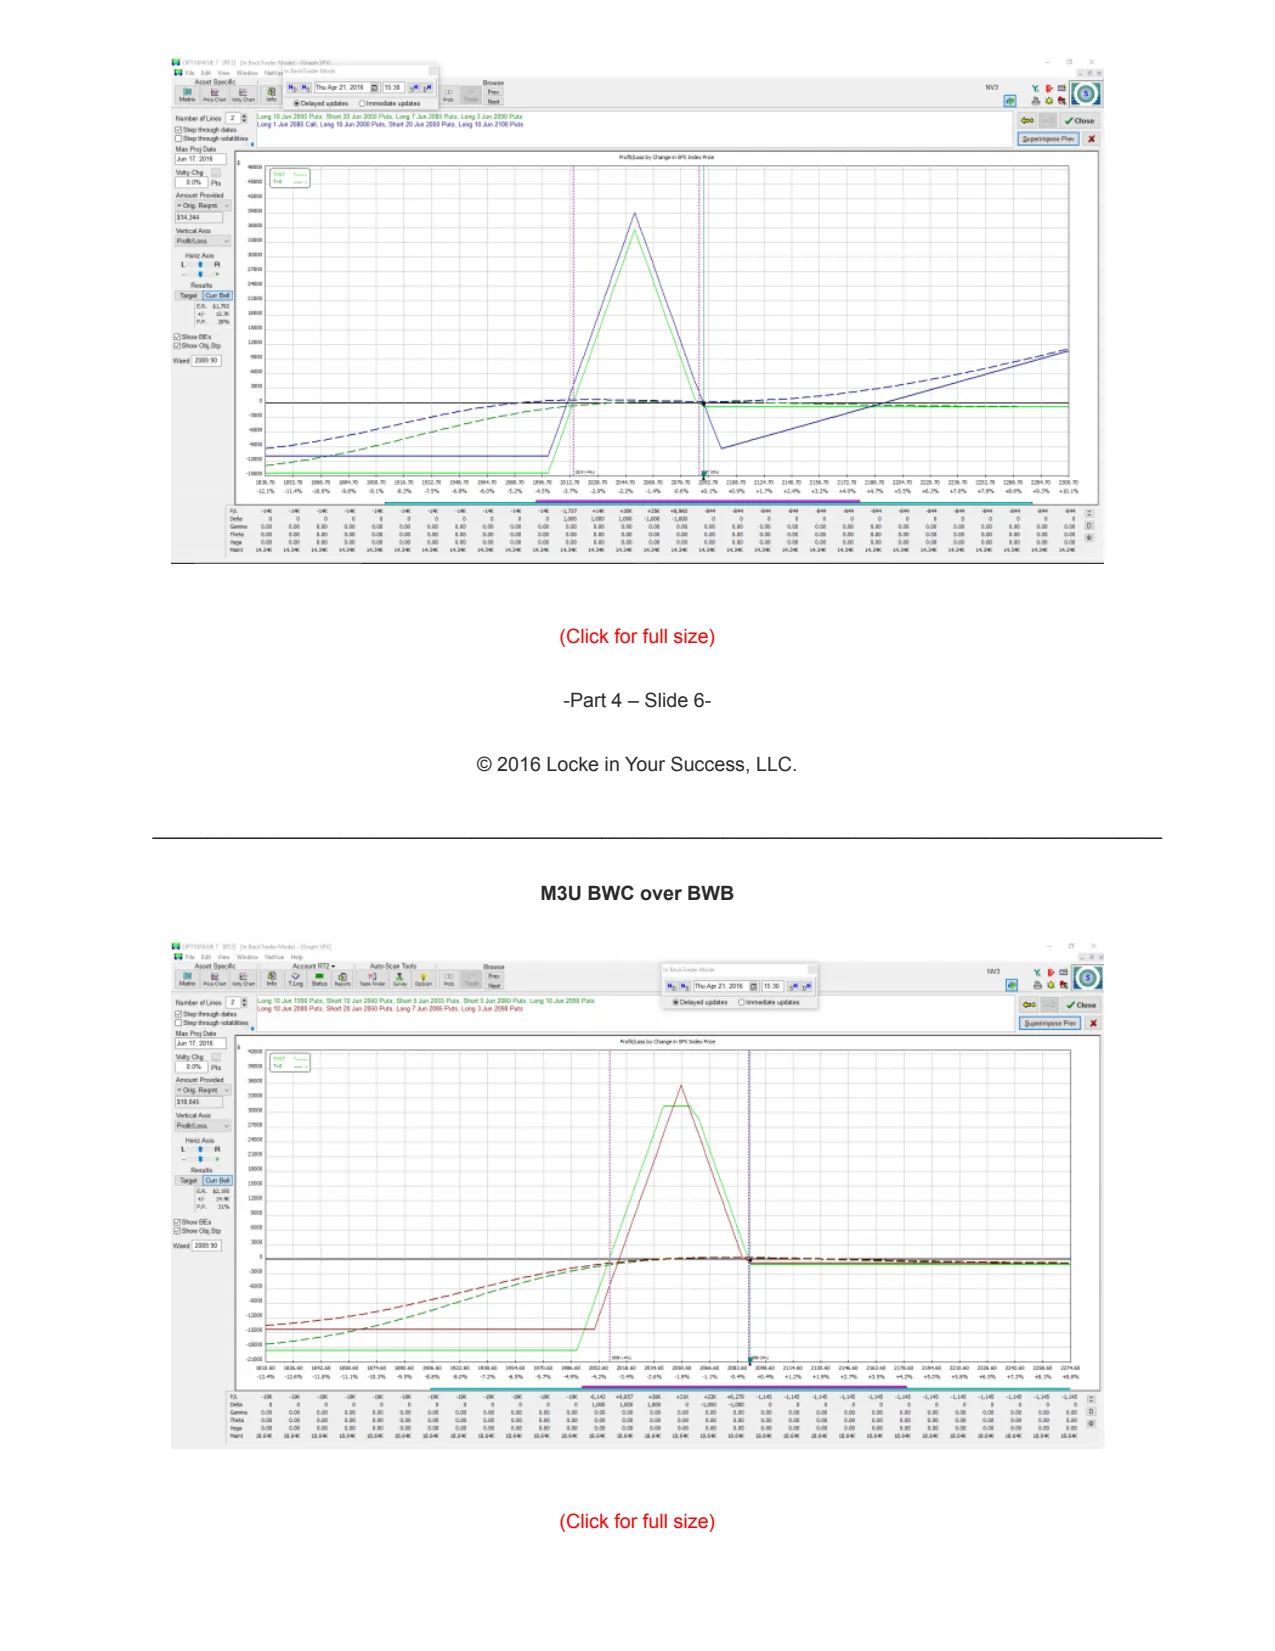
When anticipating normal down moves with volatility increases, choose narrow butterfly configurations. For down moves without volatility increases, opt for wider configurations. For upside plays, narrow configurations are preferable as they extend the T plus zero line further ahead.
Wider butterfly configurations require more contracts to allocate the same amount of capital compared to narrower configurations.
11 1:08:35 Setting Up and Adjusting Butterfly Strategies
The video explains how to set up a butterfly strategy by identifying cycles and placing strikes, with a focus on the 30-day cycle in the Russell and the use of 100 points for long strikes. It also covers the broken wing butterfly strategy, the impact of volatility and days to expiration, and how to adjust wing width based on the desired strategy reaction.
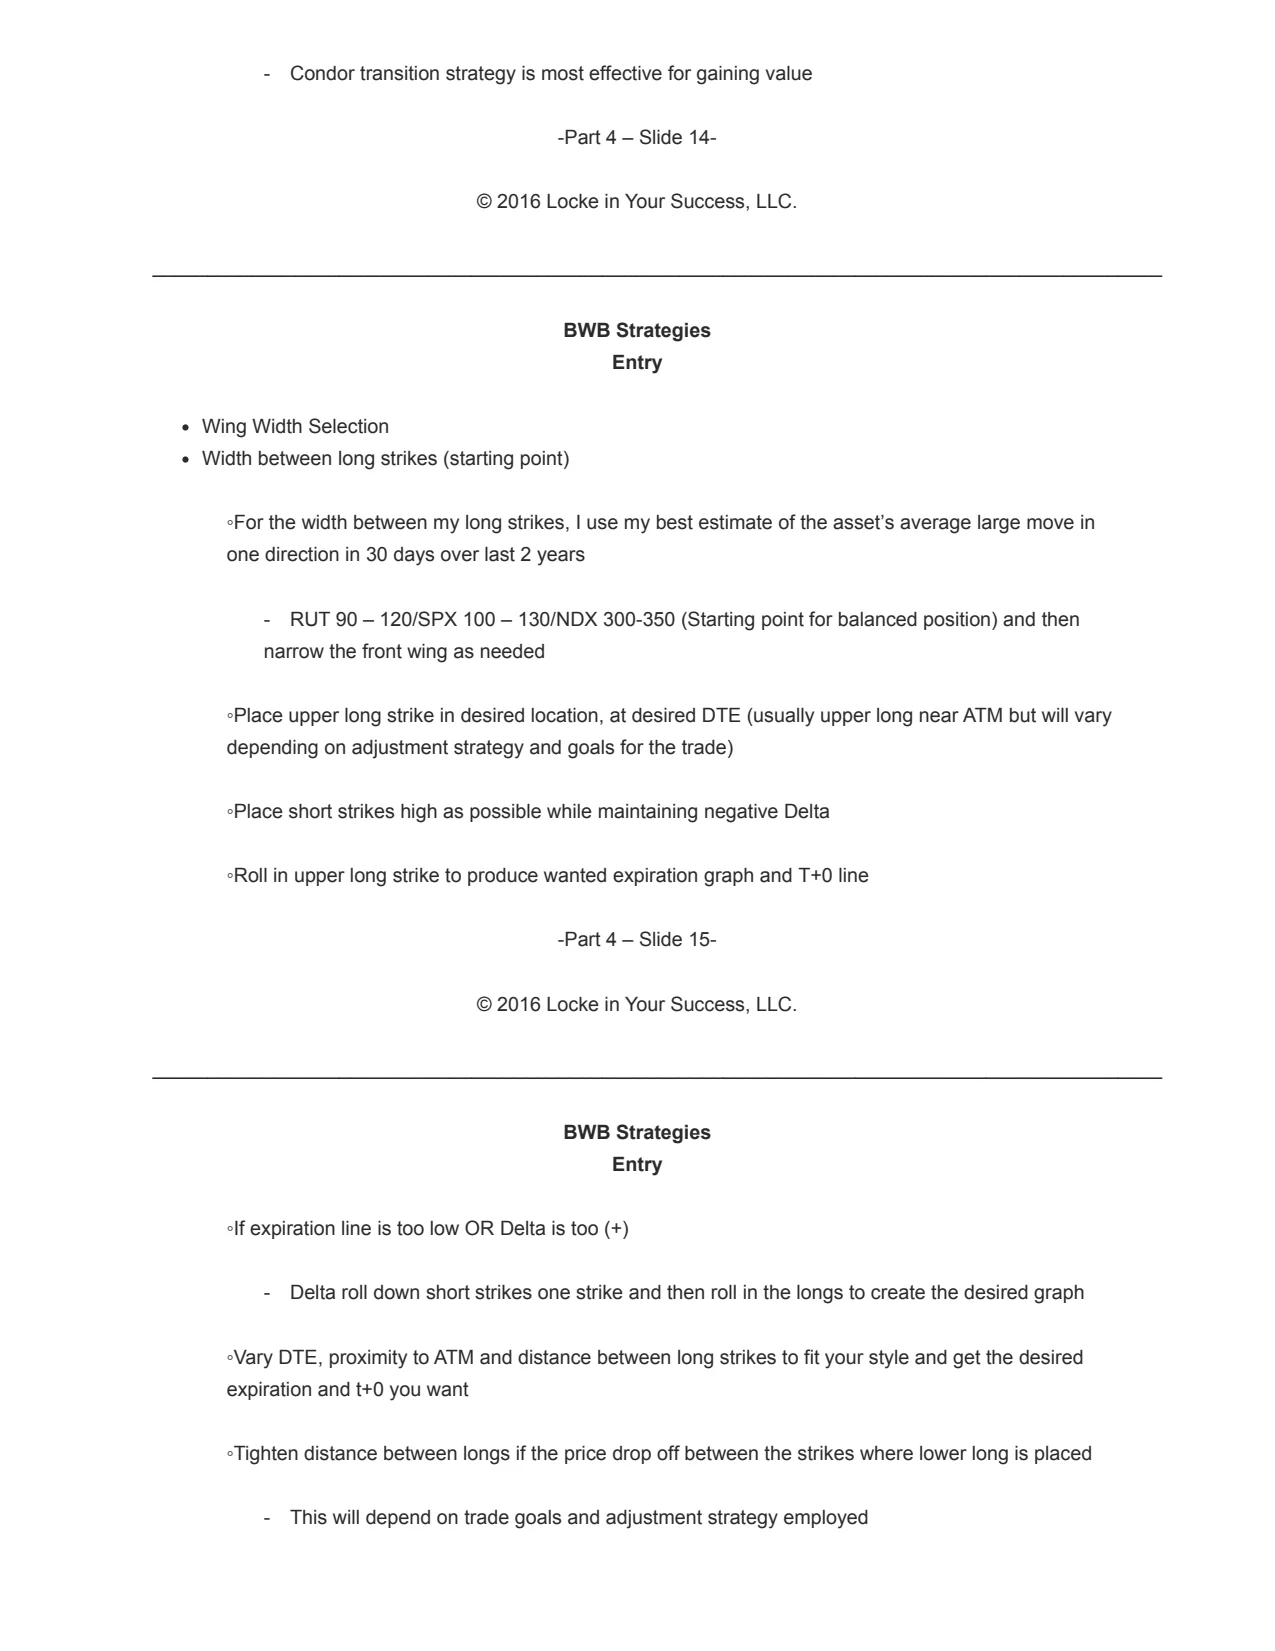

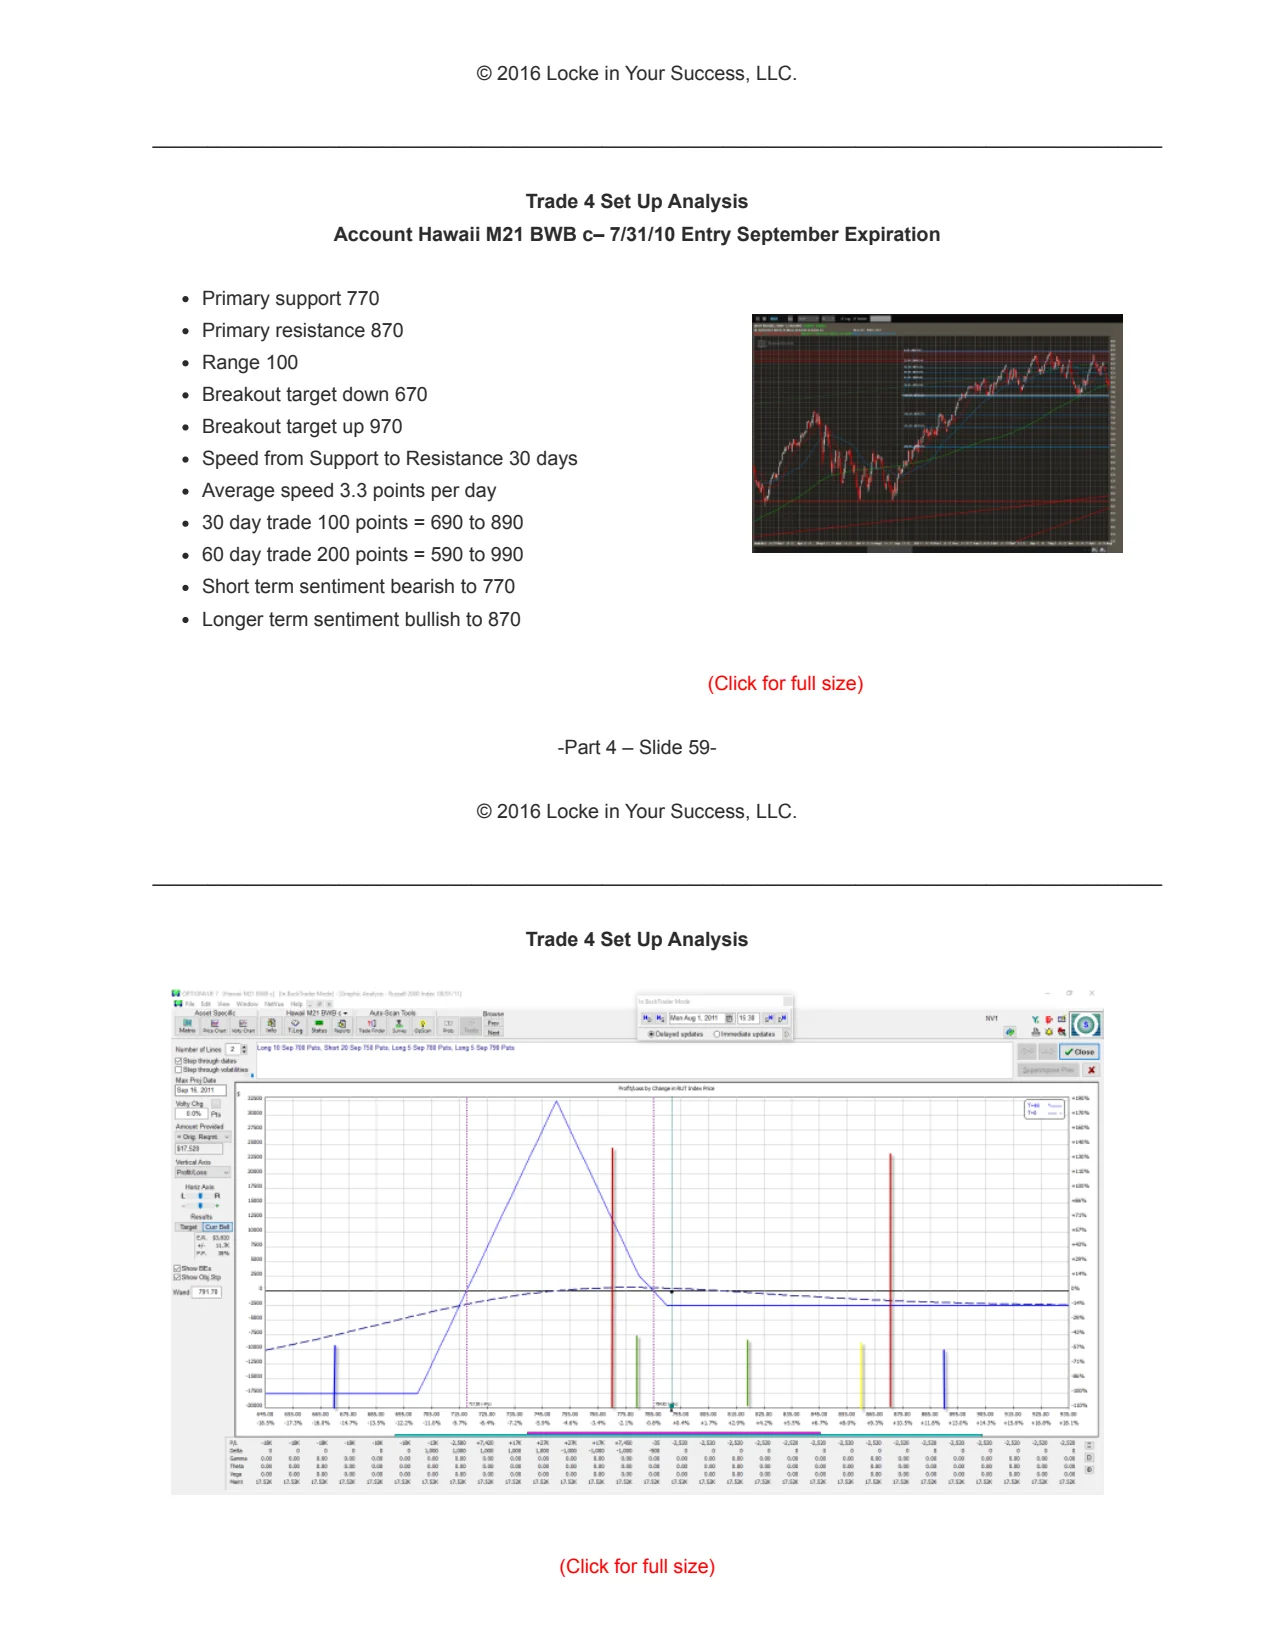
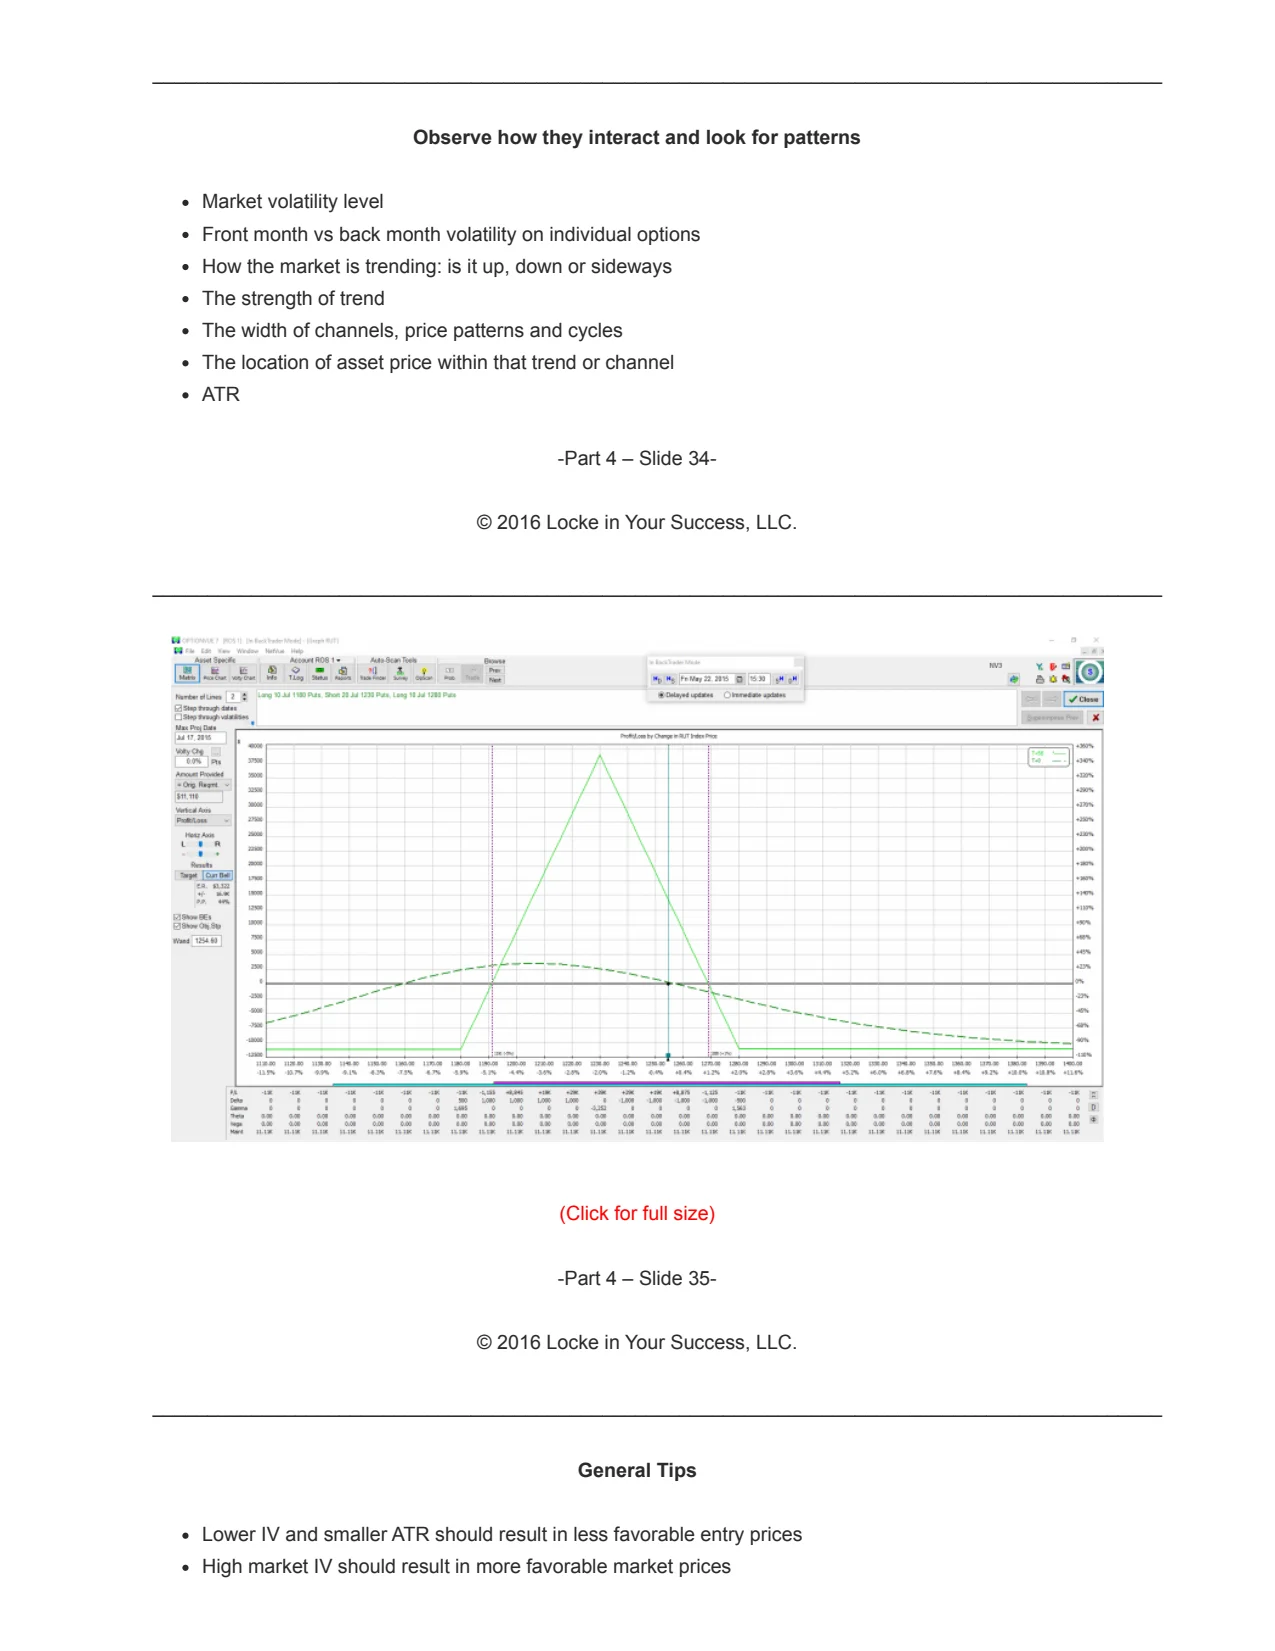
To set the initial wing width for a butterfly strategy, the trader examines the 30-day cycle of the underlying asset to determine the typical range. For the Russell, a 100-point range is used between the long strikes. For SPX, a 130-point range is used as a starting point, while for NDX, a 300-point range is appropriate.
The width of the butterfly wings should be adjusted based on the trader's strategy (e.g., risk-off, risk-on) and the volatility of the underlying asset. For a risk-off strategy, narrower wings (e.g., 90-100 points) are preferred, while for a risk-on strategy, wider wings (e.g., 130-150 points) may be used.